How to Install Split Solar Street Lights: A Step-by-Step Guide
2026-09-14
7
Blog
Installing a split solar street light involves more than mounting a lamp on a pole. The solar panel, LED luminaire, lithium battery, controller, bracket arm and light pole must be assembled, wired and tested in the correct sequence.
This guide follows the installation process demonstrated in Inbrit’s split solar street light installation video, covering everything from solar panel mounting to wiring, pole installation and final system testing.
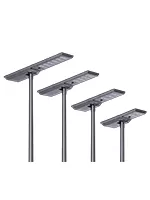
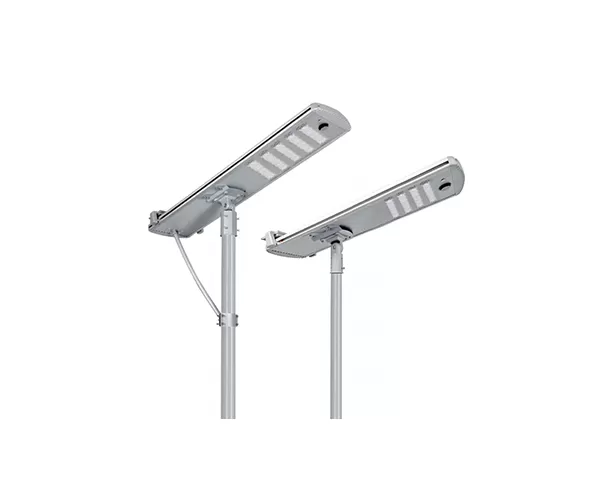
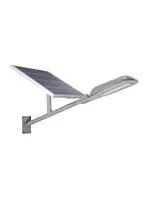
Before starting the installation, you can explore Inbrit’s Split Solar Street Light Series to understand the available system configurations.
This installation video demonstrates the complete setup of an Inbrit split solar street light, including solar panel mounting, LED luminaire installation, battery and controller wiring, pole installation and final dimming tests.
Components Used in a Split Solar Street Light System
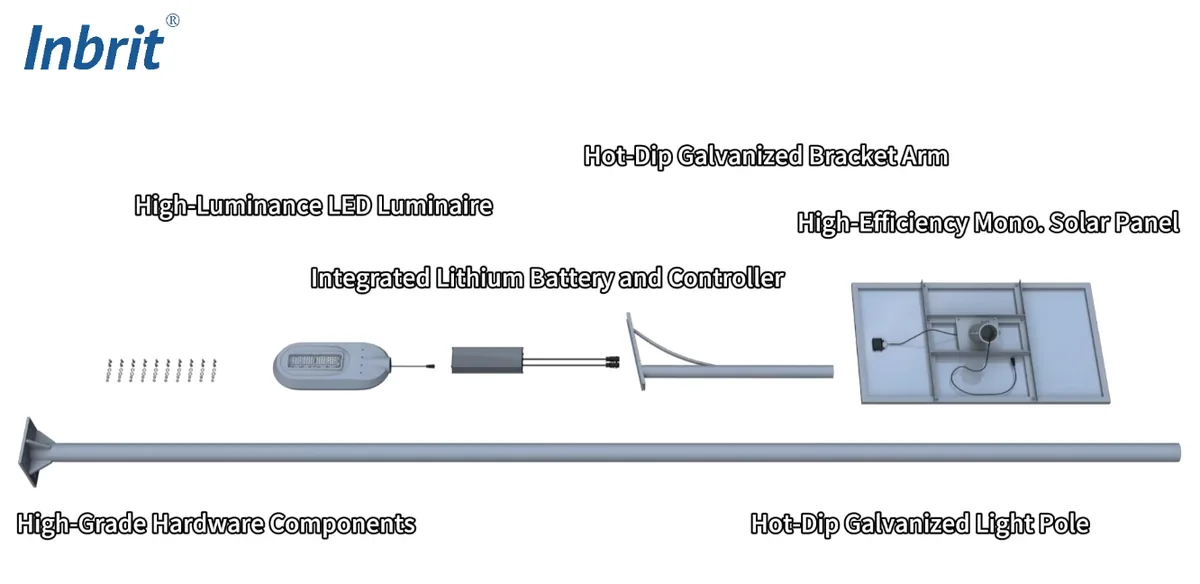
Before installation, check that all major system components are ready.
The installation shown in the video includes:
Component
Function
Solar Panel
Generates electrical energy from sunlight
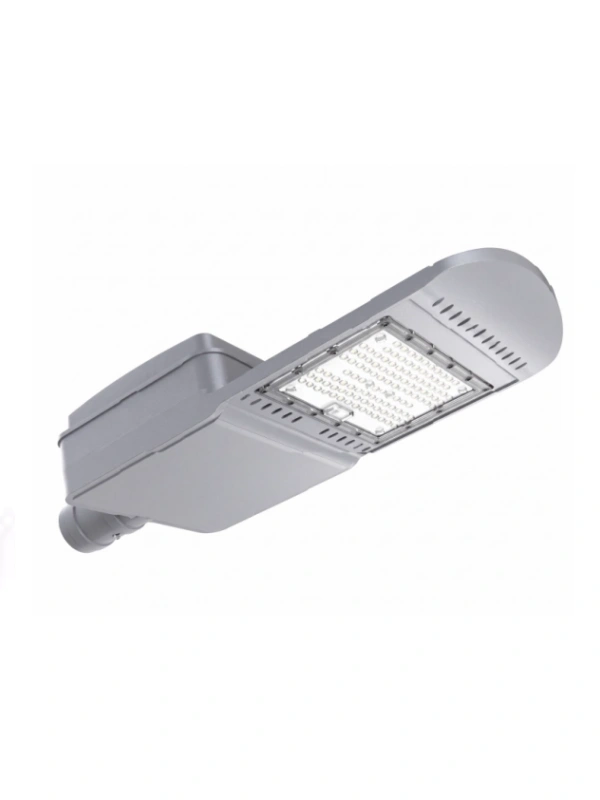
LED Luminaire
Provides road or outdoor illumination
Integrated Lithium Battery & Controller
Stores energy and manages system operation
Bracket Arm
Supports the luminaire
Light Pole
Main structural support
Hardware Components
Secures the system during assembly
The exact component sizes and configuration should follow the applicable project specification.
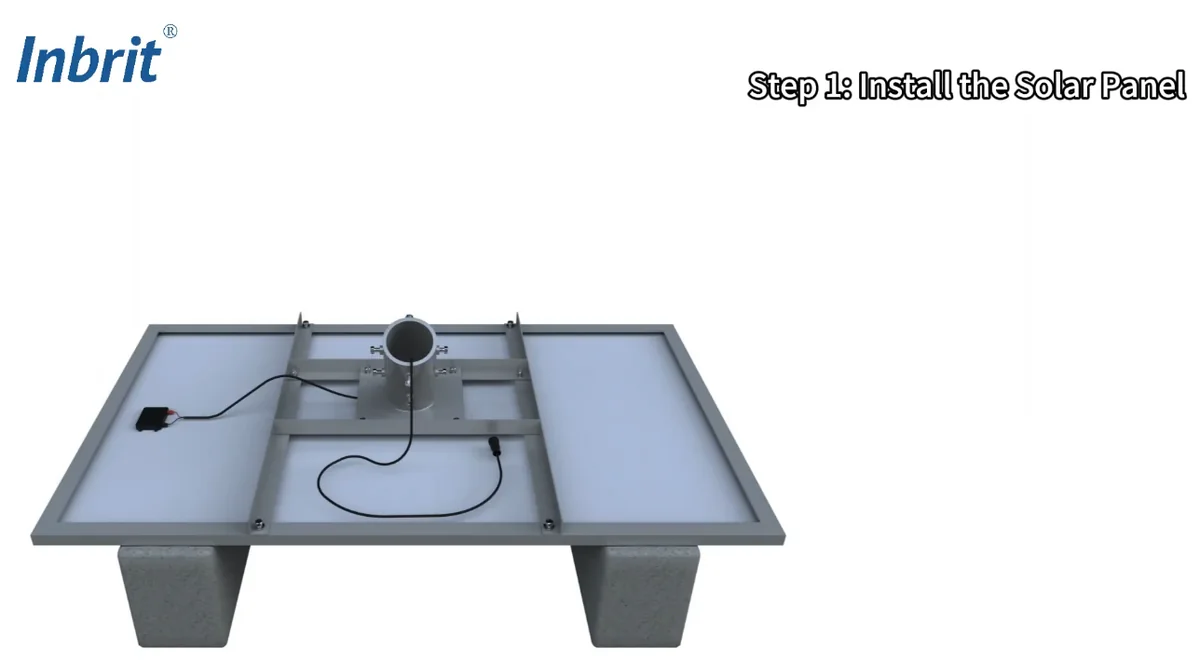
Step 1: Install the Solar Panel
The first stage is mounting the solar panel and preparing its cable routing.
1. Align the Mounting Angle Iron
Align the angle iron with the mounting holes on the back of the solar panel.
Make sure the mounting points match before tightening the hardware.
2. Route the Solar Panel Cable
Pass the solar panel cables through the mounting sleeve.
This prepares the wiring for routing through the light pole later in the installation.
3. Secure the Solar Panel
Fasten the solar panel assembly with bolts.
The panel should be properly secured before continuing to cable routing.
4. Feed the Cable Through the Main Pole
Feed the solar panel cables into the main pole and route them out through the pre-drilled opening.
This allows the solar panel to connect later with the battery and controller.
5. Set the Solar Panel Orientation
According to the installation guidance in the video:
In the Northern Hemisphere, the solar panel is generally recommended to face south.
In the Southern Hemisphere, it is generally recommended to face north.
Final orientation should still consider the actual project location and site conditions.
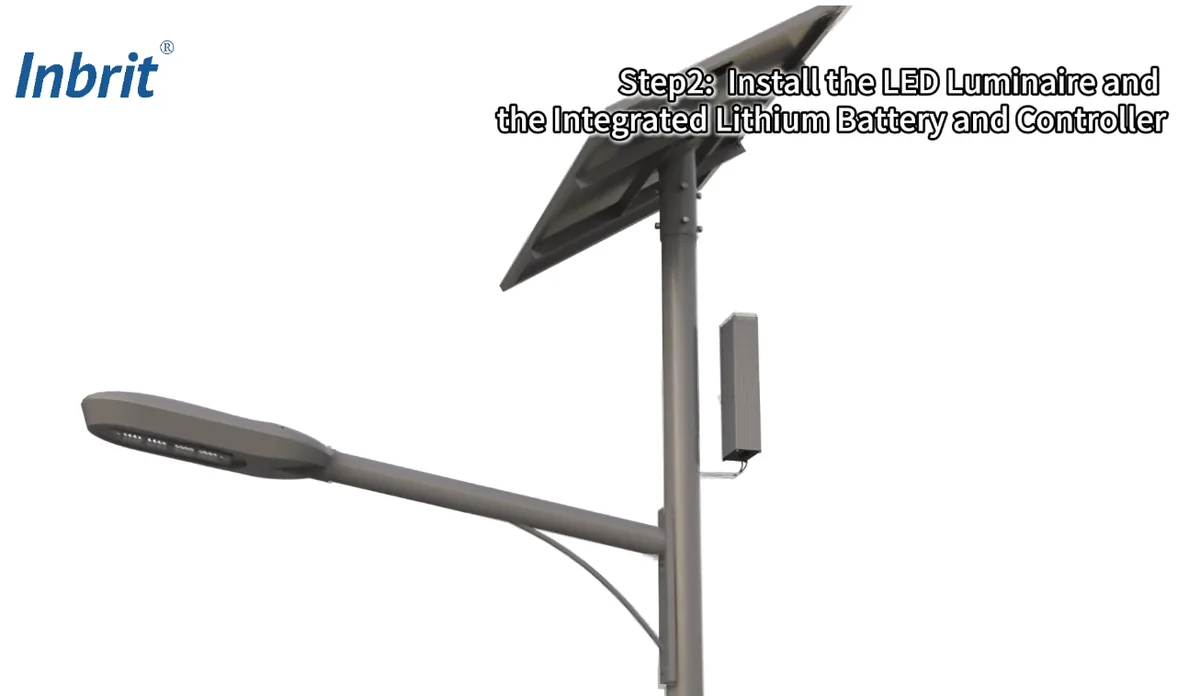
Step 2: Install the LED Luminaire and Integrated Lithium Battery & Controller
After the solar panel is mounted, the next stage is the LED luminaire and energy-storage/control system.
1. Route the Luminaire Cable
Pass the luminaire cable through the support arm, then into the main pole and out through the pre-drilled opening.
2. Adjust the Luminaire and Support Arm
Adjust the position of the luminaire and support arm as required before final tightening.
3. Connect the Solar Panel to the Battery and Controller
Connect the solar panel cable to the integrated lithium battery and controller.
4. Connect the Luminaire to the Battery and Controller
Connect the LED luminaire to the integrated lithium battery and controller.
The video also recommends using a wire puller or steel wire as a guide if cable routing through the pole is difficult.
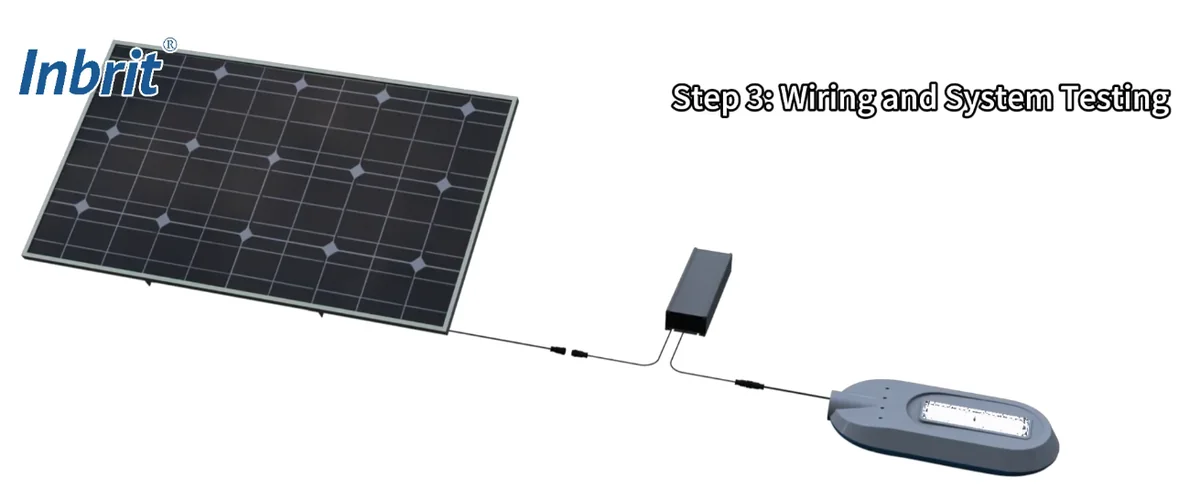
Before installing the pole permanently, the electrical system should be tested.
1. Connect the Battery and Controller to the LED Luminaire
Connect the integrated lithium battery and controller to the LED luminaire.
According to the video, the LED light source should turn on after this connection is completed.
2. Connect the Solar Panel
Next, connect the solar panel.
The light source should automatically turn off, indicating that the light-control function is operating.
This provides a simple functional check before final assembly.
3. Tighten the Solar Panel Sleeve
After verifying the wiring, tighten the bolts of the solar panel sleeve.
4. Secure the Integrated Battery and Controller
The integrated lithium battery and controller can also be mounted on the backside of the solar panel, as shown in the video.
Tighten the mounting bolts after positioning the unit.
Step 4: Install the Light Pole
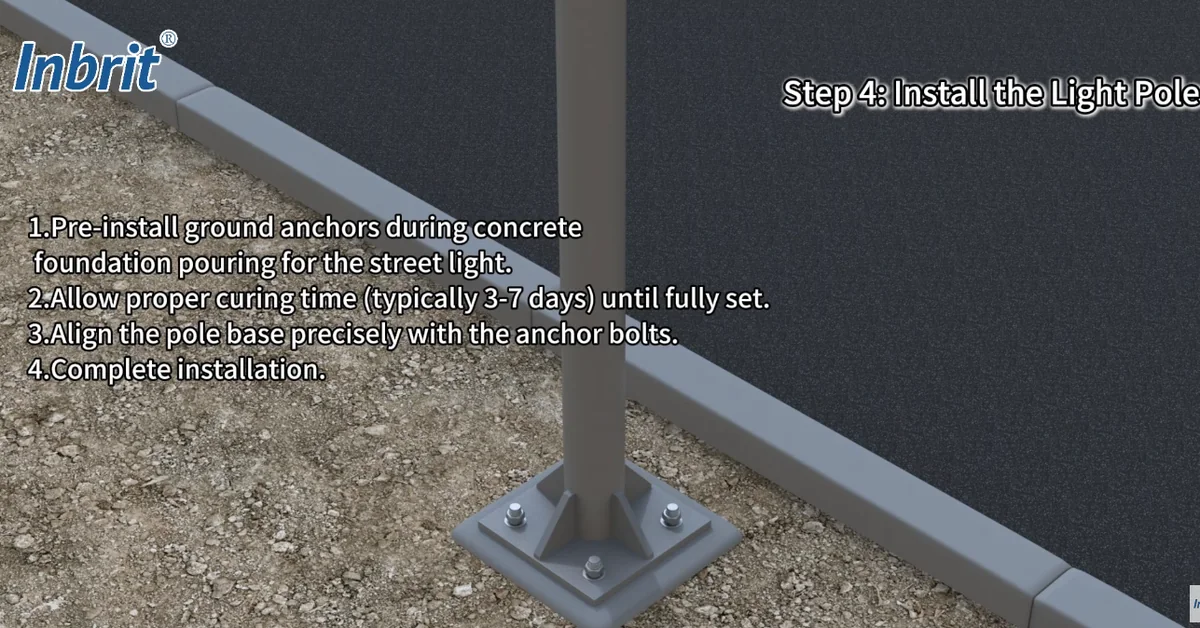
Once the solar lighting system has been assembled and tested, the pole can be installed on the foundation.
1. Pre-Install the Ground Anchors
Ground anchors should be installed during the concrete foundation pouring stage.
2. Allow the Concrete to Cure
The video recommends allowing approximately 3–7 days for curing before pole installation.
Because actual curing requirements depend on concrete design, weather and project specifications, the final installation timing should follow the approved civil-engineering requirements.
3. Align the Pole Base
Position the pole base precisely over the anchor bolts.
Make sure the base plate and anchors are correctly aligned before securing the pole.
4. Complete Pole Installation
After alignment, complete the pole installation according to the project requirements.
Pole height, spacing, road width and fixture distribution should be planned together. For roadway projects, see Inbrit’s solar roadway lighting solutions.
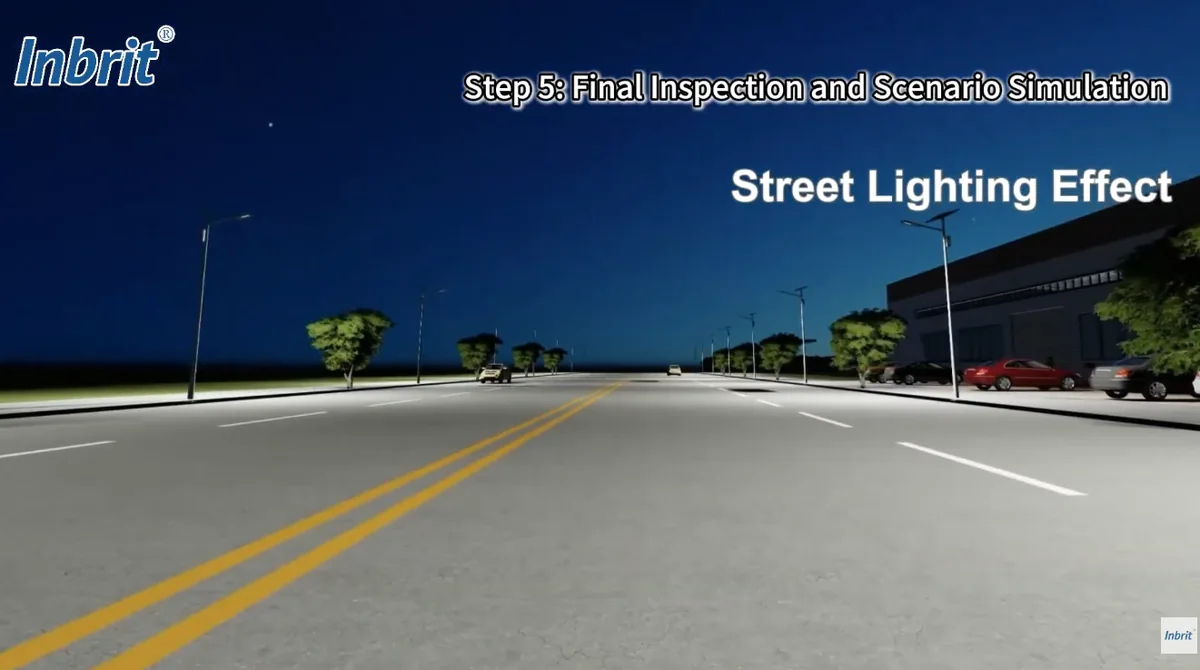
Step 5: Final Inspection and Scenario Simulation
The final stage is system inspection and operating-mode verification.
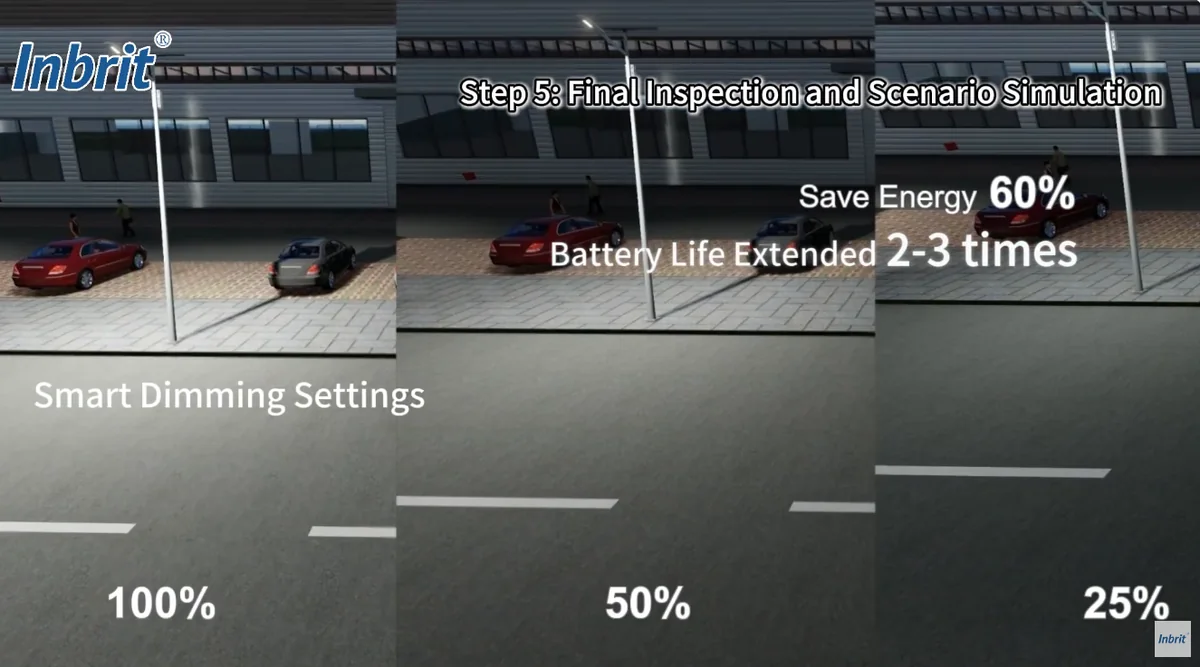
The video demonstrates smart dimming settings at:
100% brightness
50% brightness
25% brightness
These settings allow the lighting system to operate at different output levels depending on the control strategy.
The video also states:
Save Energy: 60%
Battery Life Extended: 2–3 times
These are claims shown in the source video. I would recommend only keeping them on the website if Inbrit has supporting controller logic, test data or technical documentation for those exact figures. Without supporting evidence, a safer version is:
Smart dimming can reduce unnecessary power consumption and help optimize battery usage during different operating periods.
How Does Smart Dimming Work in a Split Solar Street Light?
Smart dimming allows the luminaire to operate at different brightness levels instead of remaining at full output all night.
For example, the system may use:
100% → 50% → 25%
at different periods, depending on the programmed control strategy.
This can help reduce unnecessary energy consumption and extend available operating time from the stored battery energy.
The exact dimming schedule should be configured according to the project’s lighting requirements.
Learn more about Inbrit’s smart solar street light technology, including intelligent control and energy-management functions.
Common Installation Mistakes to Avoid
A correct installation process helps reduce later system problems.
Based on the steps demonstrated in the video, installers should pay particular attention to:
incorrect solar panel orientation;
poorly routed cables;
loose electrical connections;
insufficient bolt tightening;
incorrect pole-base alignment;
installing the pole before the foundation is ready;
skipping functional testing before final installation.
A good practice is to complete basic electrical testing before the pole is fully installed.
Split Solar Street Light Installation Checklist
Before completing the installation, check the following:
Solar panel securely mounted
Solar panel orientation confirmed
Solar panel cable routed correctly
LED luminaire fixed to bracket arm
Luminaire cable routed through pole
Battery/controller connected correctly
Solar panel connection tested
Light-control function tested
All mounting bolts tightened
Foundation cured sufficiently
Pole base aligned with anchors
Final brightness modes tested
This checklist is especially useful for contractors and project installers working with multiple lighting points.
Frequently Asked Questions About Split Solar Street Light Installation
How do you install a split solar street light?
The main process includes installing the solar panel, mounting the LED luminaire, connecting the battery and controller, testing the wiring, installing the pole and completing a final functional inspection.
Which direction should the solar panel face?
The video recommends facing the solar panel south in the Northern Hemisphere and north in the Southern Hemisphere. Final orientation should still be adjusted according to the actual project location and solar conditions.
Should the solar street light be tested before the pole is installed?
Yes. The video demonstrates connecting the battery/controller and LED luminaire first, then connecting the solar panel to verify that the light-control function is working before final pole installation.
How long should the concrete foundation cure?
The video recommends approximately 3–7 days, but actual curing time should follow the project’s concrete design, environmental conditions and engineering requirements.
Can the battery and controller be installed behind the solar panel?
Yes. The video shows that the integrated lithium battery and controller can be mounted on the backside of the solar panel.
Can split solar street lights use dimming control?
Yes. The video demonstrates three brightness levels: 100%, 50% and 25%. The actual dimming schedule can be configured according to project requirements.
Planning a Split Solar Street Light Project?
If you are preparing a road, community, park or rural lighting project, installation quality is only one part of the system.
The solar panel, battery capacity, LED power, pole height and operating schedule also need to be matched to the project.
Send us your project location, road dimensions, pole height and required operating hours to discuss a suitable solar panel, battery and LED configuration.
We use cookies to offer you a better browsing experience, analyze site traffic and personalize content. Part of the tracking is necessary to ensure SEO effectiveness, By using this site, you agree to our use of cookies.
Visit our cookie policy to learn more.


 English
 français
 Español
 العربية
 Pilipino
 ไทย
ไทย tiếng việt
 Malay
Malay русский