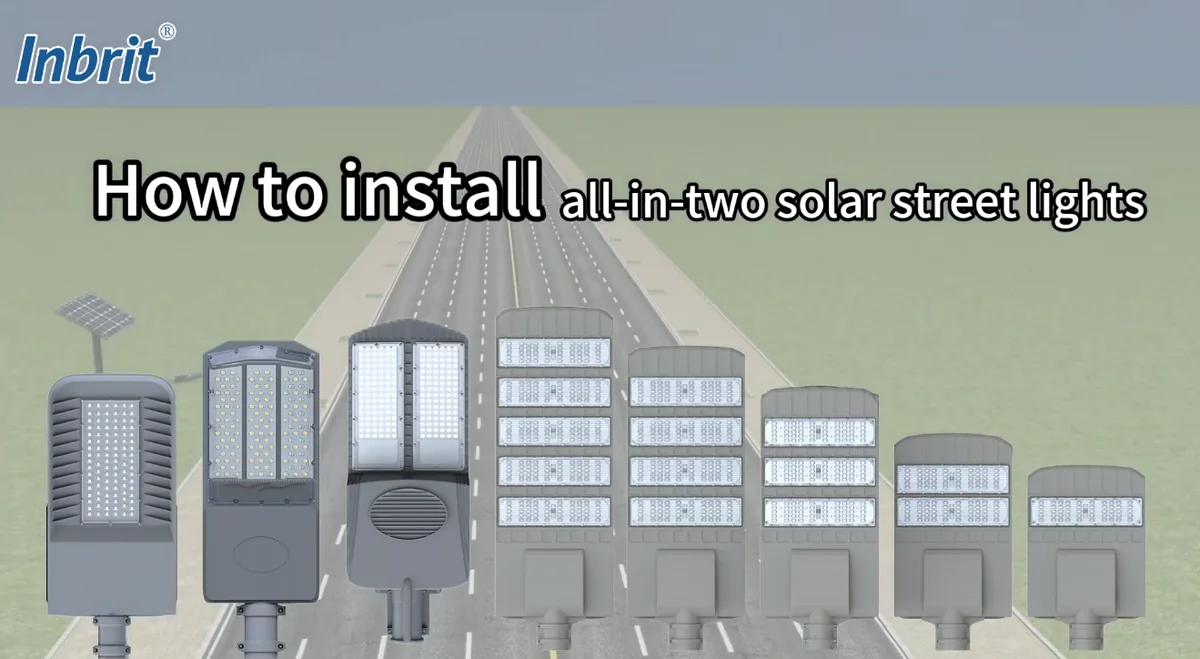
How to Install All-in-Two Solar Street Lights: A Step-by-Step Guide
2026-09-14
10
Blog
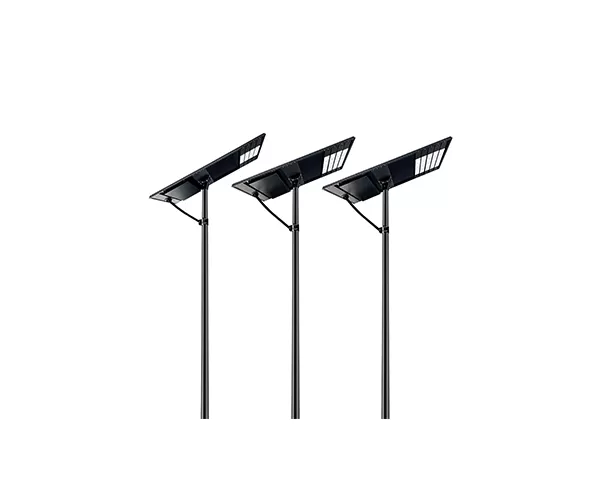
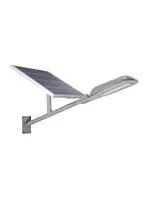
An all-in-two solar street light separates the solar panel from the LED luminaire while keeping the system compact and relatively simple to install.
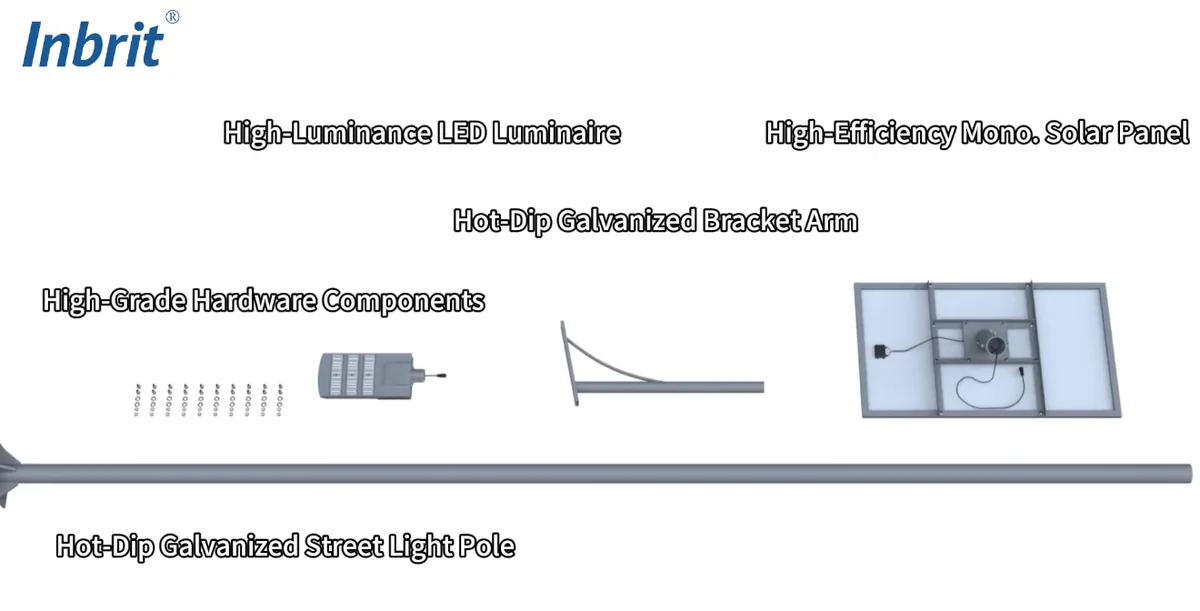
A typical installation includes a high-efficiency monocrystalline solar panel, LED luminaire, galvanized bracket arm, galvanized street light pole, mounting hardware and the required cables and connectors.
This guide follows Inbrit’s installation demonstration and explains the complete process from component preparation and solar panel positioning to wiring, pole installation and final lighting simulation.
An all-in-two solar street light separates the solar panel from the LED luminaire while keeping the system compact and relatively simple to install.
A typical installation includes a high-efficiency monocrystalline solar panel, LED luminaire, galvanized bracket arm, galvanized street light pole, mounting hardware and the required cables and connectors.
This guide follows Inbrit’s installation demonstration and explains the complete process from component preparation and solar panel positioning to wiring, pole installation and final lighting simulation.
Main Components of an All-in-Two Solar Street Light
The installation shown in the video includes:
High-luminance LED luminaire
High-efficiency monocrystalline solar panel
Hot-dip galvanized bracket arm
High-grade hardware components
Hot-dip galvanized street light pole
The system is designed around a separated solar panel and luminaire structure, allowing the panel to be positioned independently from the lighting fixture.
Step 1: Install the Solar Panel
Solar panel installation is the first major step.
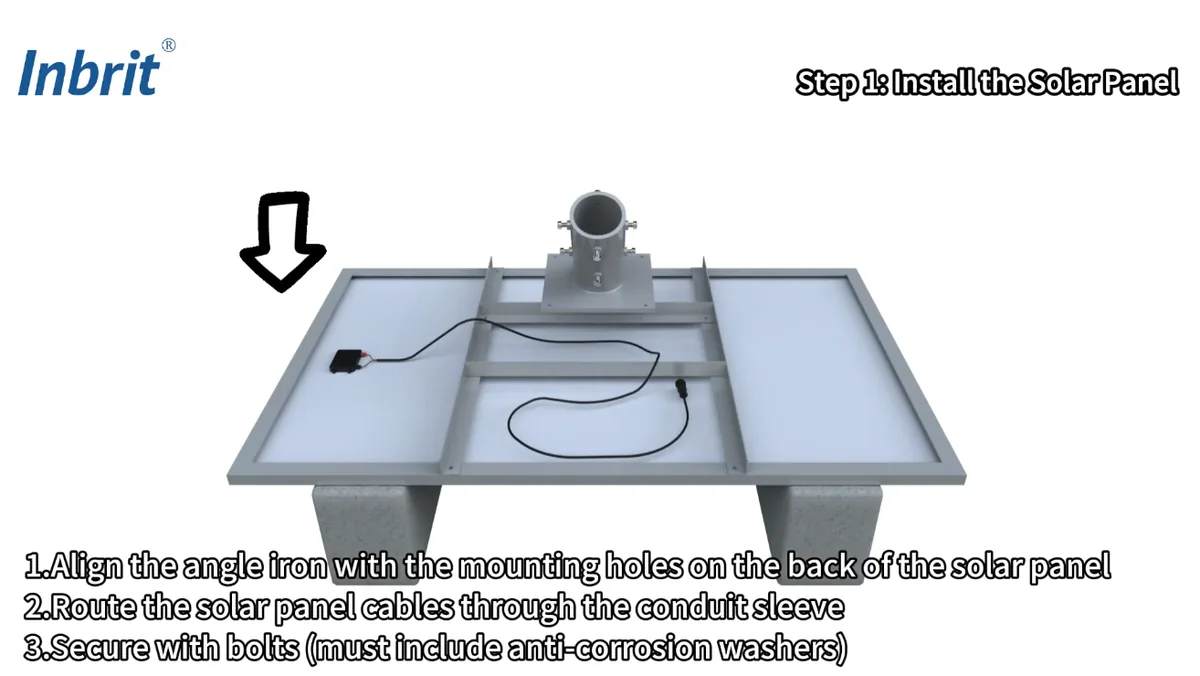
1. Align the Mounting Structure
Align the angle iron with the mounting holes on the back of the solar panel.
Make sure the mounting points match correctly before tightening the hardware.
2. Route the Solar Panel Cables
Pass the solar panel cables through the conduit sleeve.
This prepares the cables for later routing through the main light pole.
3. Secure the Solar Panel
Secure the panel using the required bolts and washers.
The installation video specifically indicates that anti-corrosion washers should be included.
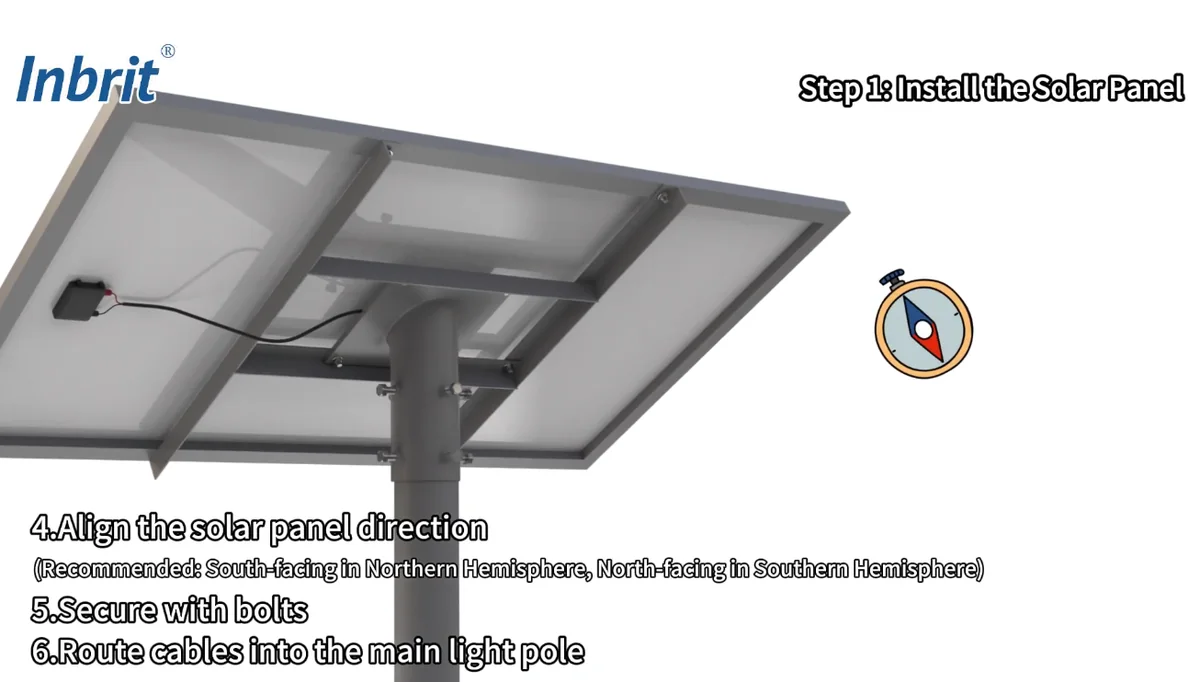
4. Set the Correct Solar Panel Direction
After mounting the panel, adjust its orientation according to the installation location.
The video recommends:
South-facing in the Northern Hemisphere
North-facing in the Southern Hemisphere
After confirming the direction:
Secure the panel with bolts.
Route the cables into the main light pole.
Final solar-panel orientation should still account for the actual project location and site conditions.
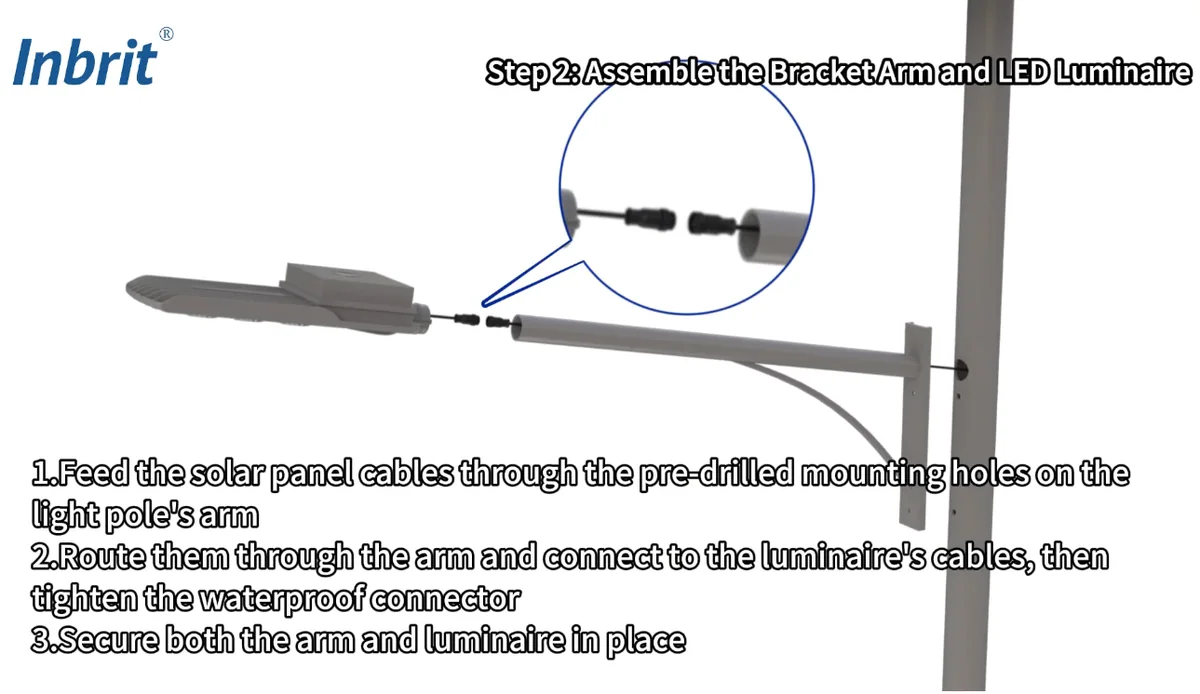
Step 2: Assemble the Bracket Arm and LED Luminaire
The next stage is installing the bracket arm and LED luminaire.
1. Route the Cable Through the Pole Arm
Feed the solar panel cable through the pre-drilled mounting opening on the light pole arm.
2. Connect the Luminaire Cable
Route the cable through the arm and connect it with the luminaire cable.
After connection, tighten the waterproof connector.
3. Secure the Bracket and Luminaire
Position the arm and LED luminaire correctly and secure both components in place.
Testing the system before fully installing the pole is an important part of the process.
It allows the installer to verify basic wiring and light-control behavior while the components are still accessible.
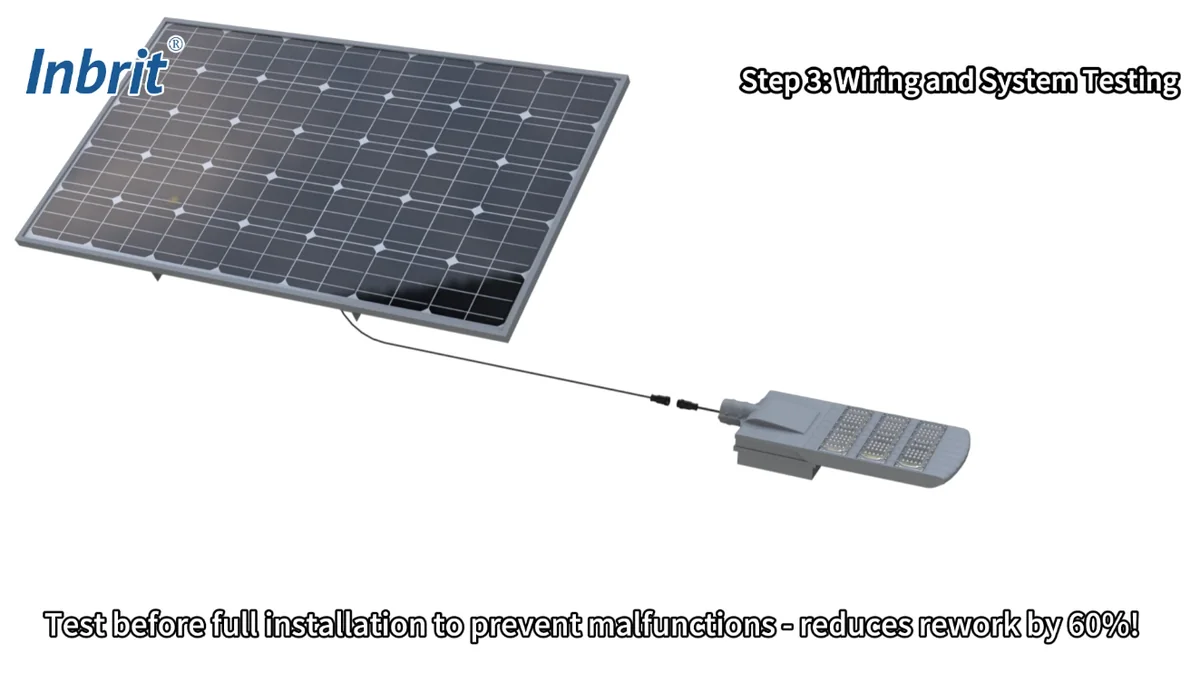
1. Initial Wiring Test
Connect the solar panel and luminaire according to the demonstrated wiring configuration.
Test before full installation to prevent malfunctions - reduces rework by 60%!
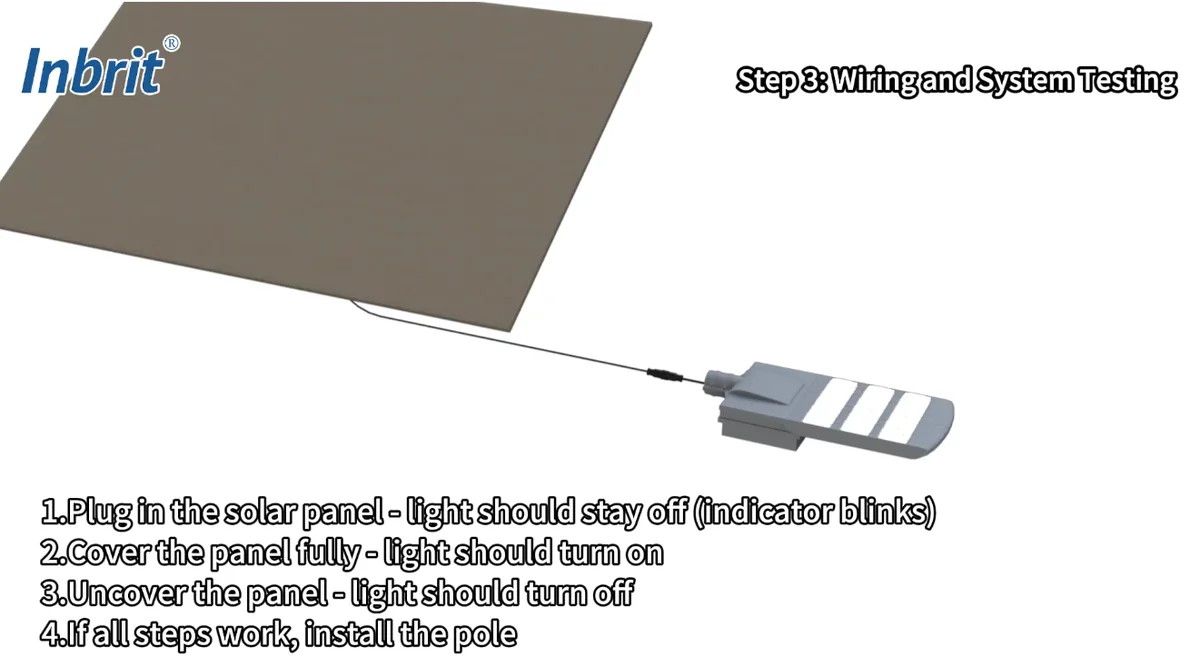
2. Test the Light-Control Function
The video demonstrates the following sequence:
Plug in the solar panel — the light should remain off and the indicator should blink.
Fully cover the solar panel — the LED light should turn on.
Uncover the solar panel — the LED light should turn off.
If all functions operate correctly, proceed with pole installation.
This test simulates the transition between daylight and darkness and verifies the basic light-control response.
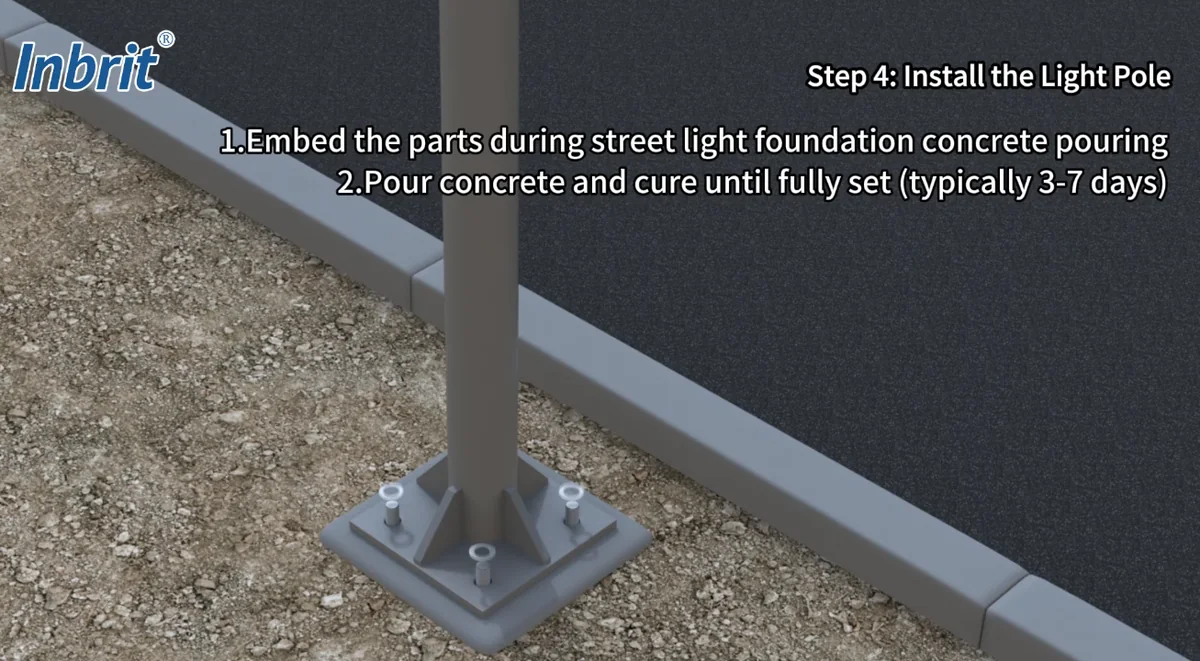
Step 4: Install the Light Pole
Once the electrical system has passed the initial test, the pole can be installed.
1. Prepare the Foundation
Embed the required anchor components while pouring the concrete foundation for the street light.
2. Allow the Foundation to Cure
The video recommends allowing the concrete to cure until fully set, typically 3–7 days.
Actual curing time should follow the concrete design, site conditions and project engineering requirements.
3. Install the Pole
After the foundation has reached the required condition, align and secure the light pole to the foundation.
Pole height, spacing and foundation design should be coordinated with the project layout. For road projects, see Inbrit’s solar roadway lighting solutions.
Step 5: Final Inspection and Scenario Simulation
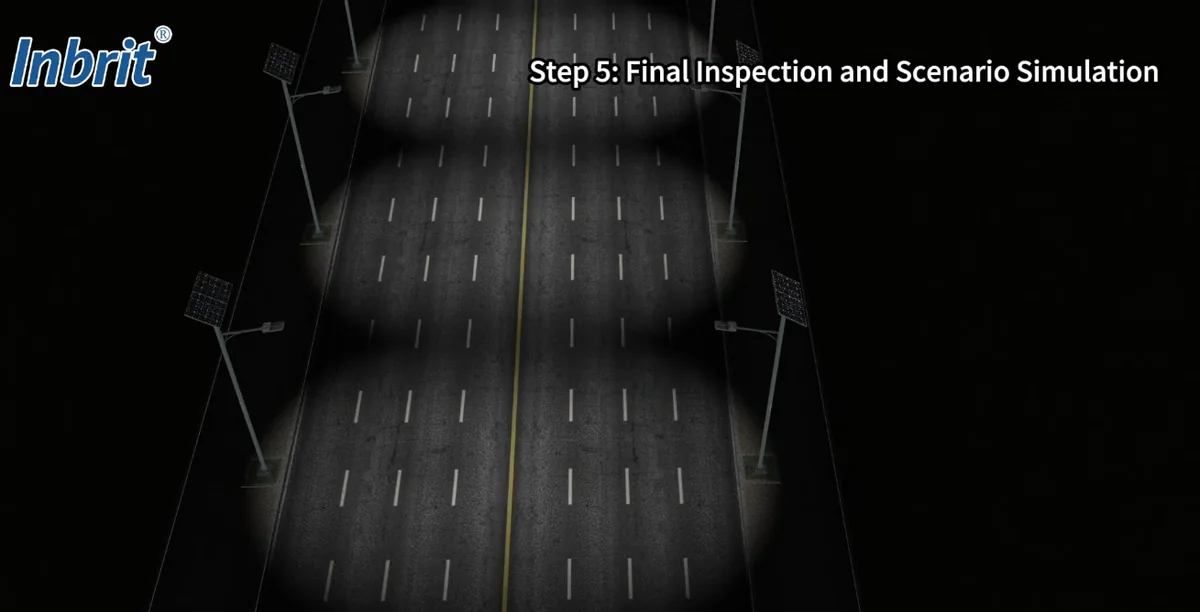
After installation, complete a final inspection and verify the expected lighting effect.
The video demonstrates several application simulations, including:
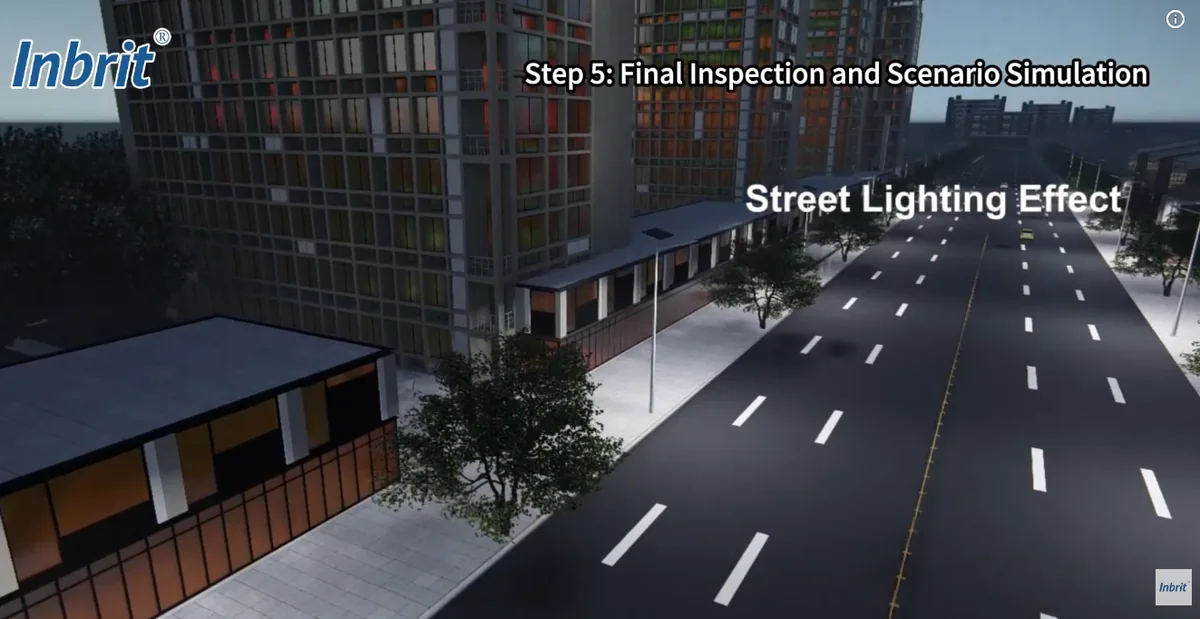
Road lighting
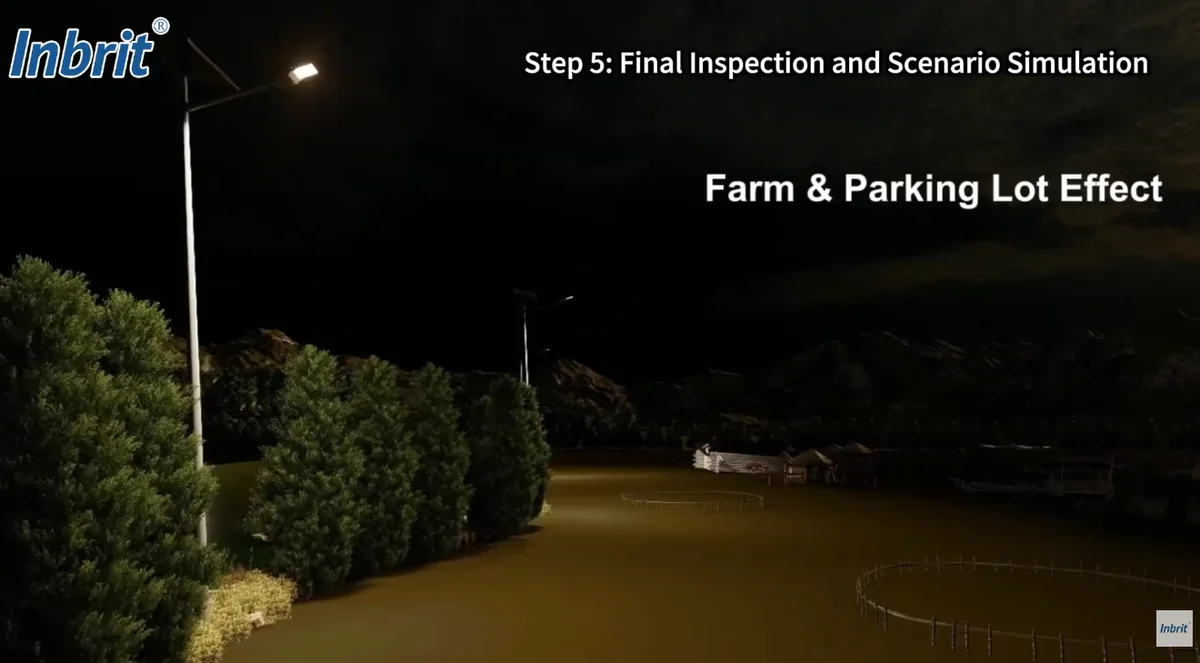
Farm lighting
Parking lot lighting
These simulations illustrate how all-in-two solar street lights can be applied in different outdoor environments.
Street Lighting Effect
The video also presents a night-time street lighting simulation showing the illuminated roadway and surrounding pedestrian areas.
Farm and Parking Lot Lighting
All-in-two solar street lights can also be considered for open outdoor environments such as farms and parking areas where grid-independent lighting is required.
Explore more solar street light applications for highways, roads, parking areas, rural projects and other outdoor environments.
All-in-Two Solar Street Light Installation Checklist
Before completing the installation, verify the following:
Solar panel bracket securely installed
Anti-corrosion washers installed where specified
Solar panel orientation confirmed
Solar panel cable routed through the pole
Bracket arm securely mounted
LED luminaire securely installed
Waterproof electrical connector tightened
Wiring tested before pole installation
Day/night light-control function verified
Foundation cured sufficiently
Pole securely installed
Final lighting operation checked
This checklist can help contractors and installers maintain a consistent installation process across multiple lighting points.
What Makes All-in-Two Solar Street Lights Different?
An all-in-two system separates the solar panel from the LED luminaire while keeping the remaining system relatively compact.
This design can provide more flexibility in solar-panel orientation than a fully integrated all-in-one system, while retaining a simpler structure than some fully split systems.
That makes the format suitable for projects where installers need:
flexible panel positioning;
simplified maintenance;
modular component replacement;
easier retrofit possibilities.
The mounting structure is designed to support a wide range of all-in-two solar street light configurations and can also be considered for retrofit projects, subject to dimensional compatibility.
Frequently Asked Questions About All-in-Two Solar Street Light Installation
What is an all-in-two solar street light?
An all-in-two solar street light typically separates the solar panel from the LED luminaire, allowing the panel to be positioned independently while maintaining a relatively simple system structure.
Which direction should the solar panel face?
The installation video recommends south-facing orientation in the Northern Hemisphere and north-facing orientation in the Southern Hemisphere. Actual orientation should be adjusted according to local site conditions.
Should the system be tested before installing the pole?
Yes. Inbrit’s installation process demonstrates testing the solar panel, LED luminaire and light-control function before the pole is permanently installed.
How can the day/night control function be tested?
After connecting the system, cover the solar panel to simulate darkness. The LED should turn on. When the panel is uncovered and receives sufficient light, the LED should turn off.
How long should the concrete foundation cure?
The video uses 3–7 days as a typical reference. Actual curing time should follow the applicable concrete specification and site conditions.
Where can all-in-two solar street lights be used?
They can be considered for roadways, parking areas, farms, communities, parks and other outdoor areas where solar-powered lighting is suitable.
Planning an All-in-Two Solar Street Light Project?
Installation is only one part of a successful solar lighting project.
The LED power, solar panel size, pole height, battery configuration and operating schedule should all be matched to the site requirements.
We use cookies to offer you a better browsing experience, analyze site traffic and personalize content. Part of the tracking is necessary to ensure SEO effectiveness, By using this site, you agree to our use of cookies.
Visit our cookie policy to learn more.


 English
 français
 Español
 العربية
 Pilipino
 ไทย
ไทย tiếng việt
 Malay
Malay русский