Solar street lights are typically tall, standing about 6 to 9 meters high. Because their poles and solar panels are quite heavy, they are difficult for one person to install. In contrast, smaller solar garden lights are only 2 to 4 meters tall and lightweight, making them easy for a single person to set up.
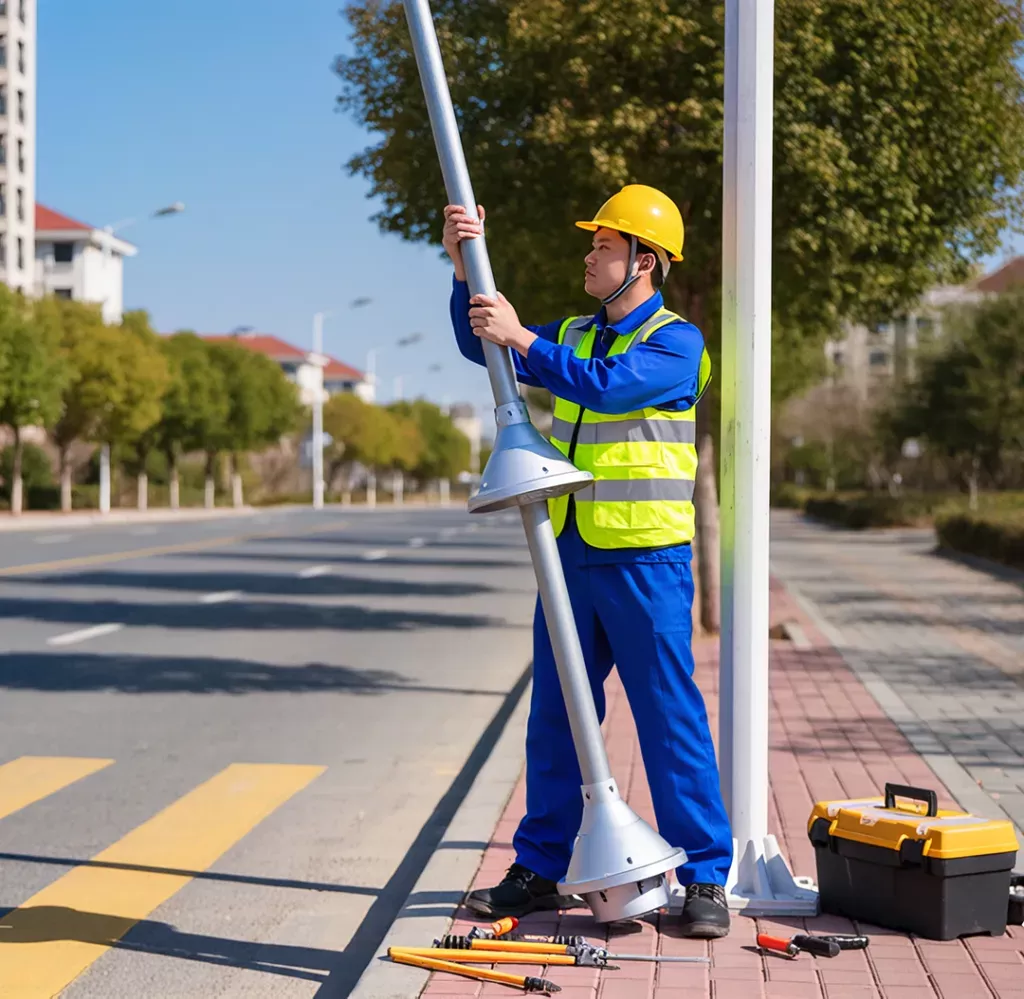
Site selection and foundation construction:
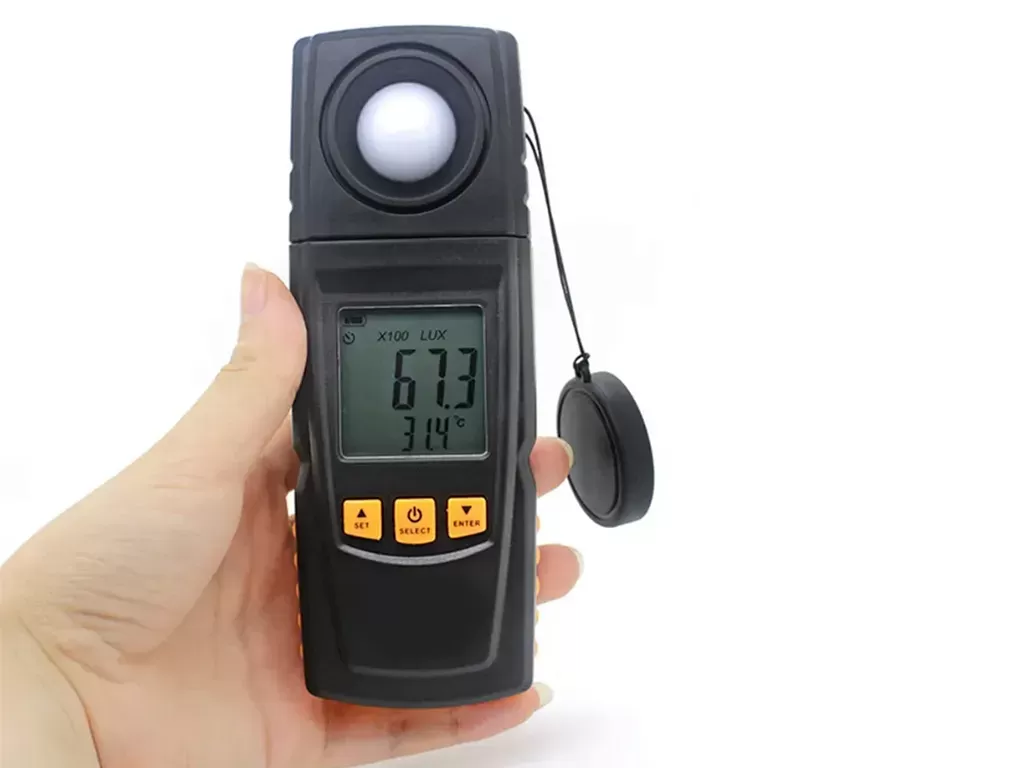
Choose a spot that receives at least 4–6 hours of direct sunlight per day (ideally 6–8 hours). To check, you can spend a day observing whether the area is blocked by buildings, trees, or other objects. Another option is to use a light meter to measure sunlight intensity at the panel locati0n. Generally, the requirement is a minimum of 500–600 lux for at least 4–6 consecutive hours.
Foundation pit:
Dig a foundation pit (usually 1.2-1.8 meters deep) according to the height of the street lamp and design requirements.

Fixing of embedded parts:
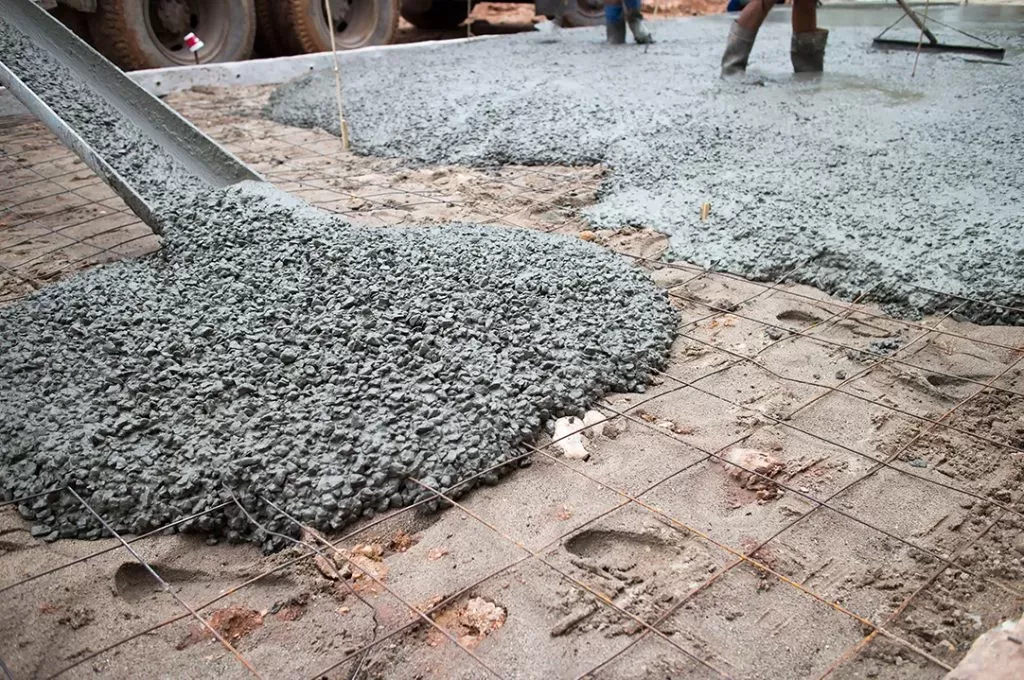
Place the embedded parts into the foundation pit, pour concrete, keep it vertical, and wait for it to solidify (usually 72 hours).
install:
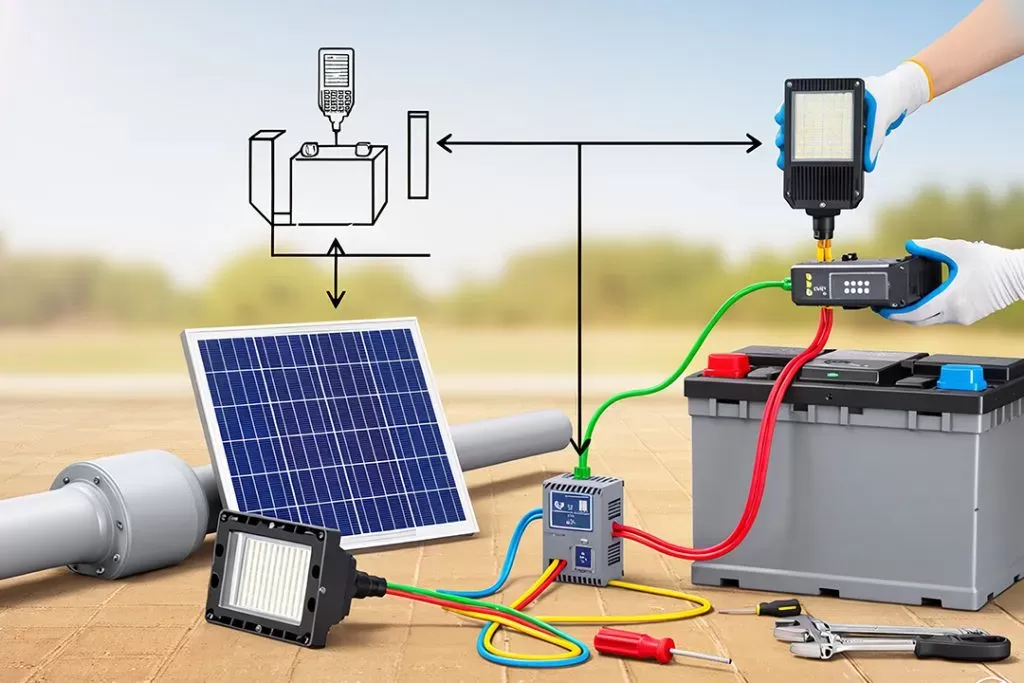
First, assemble the main components on the ground, including the light pole, LED lamp head, solar panel, and battery box. Next, connect the wiring in the following order: solar panel → controller → battery → LED light.
Pole:
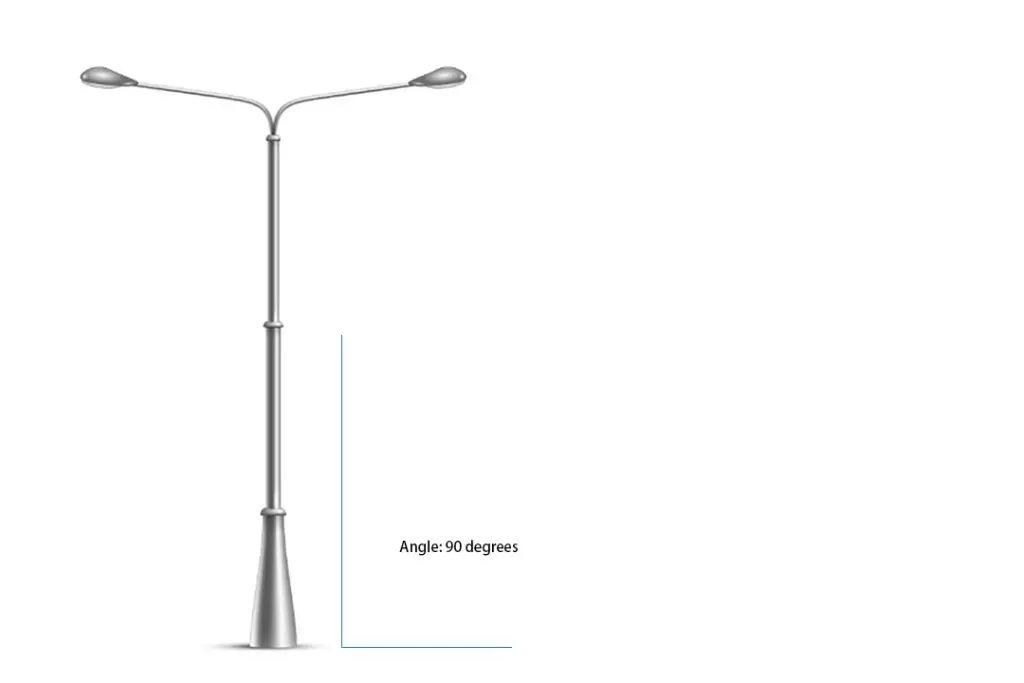
Before erecting the pole, review the structural and installation instructions provided by the solar street light pole factory. Small poles may be raised with suitable lifting aids, but the pole must remain controlled throughout the process and be securely fixed to the embedded foundation bolts. After tightening the nuts, check that the pole is vertical and stable.
Adjust the angle:
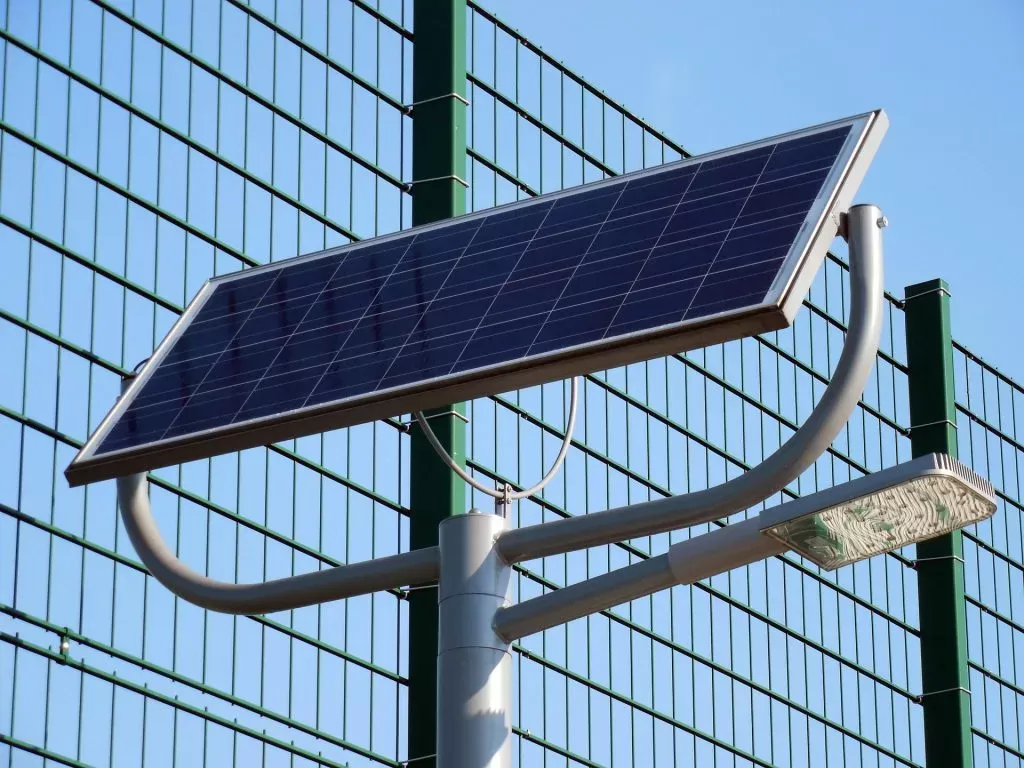
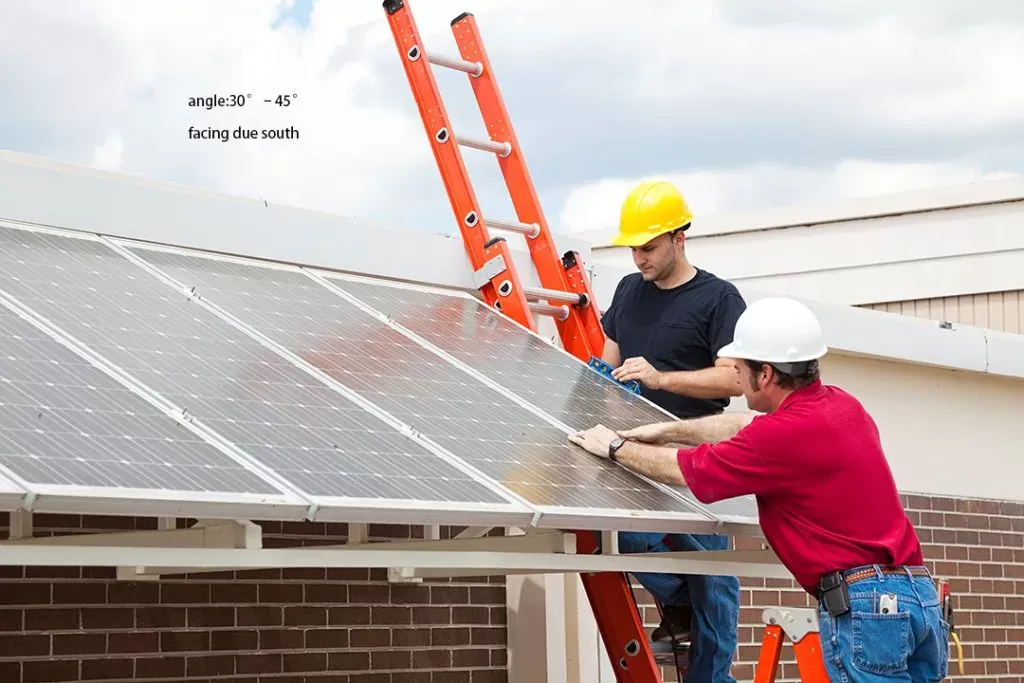
Adjust the solar panel to a suitable tilt angle (usually 30°–45°, facing due south). Make sure there are no obstructions.
Test:
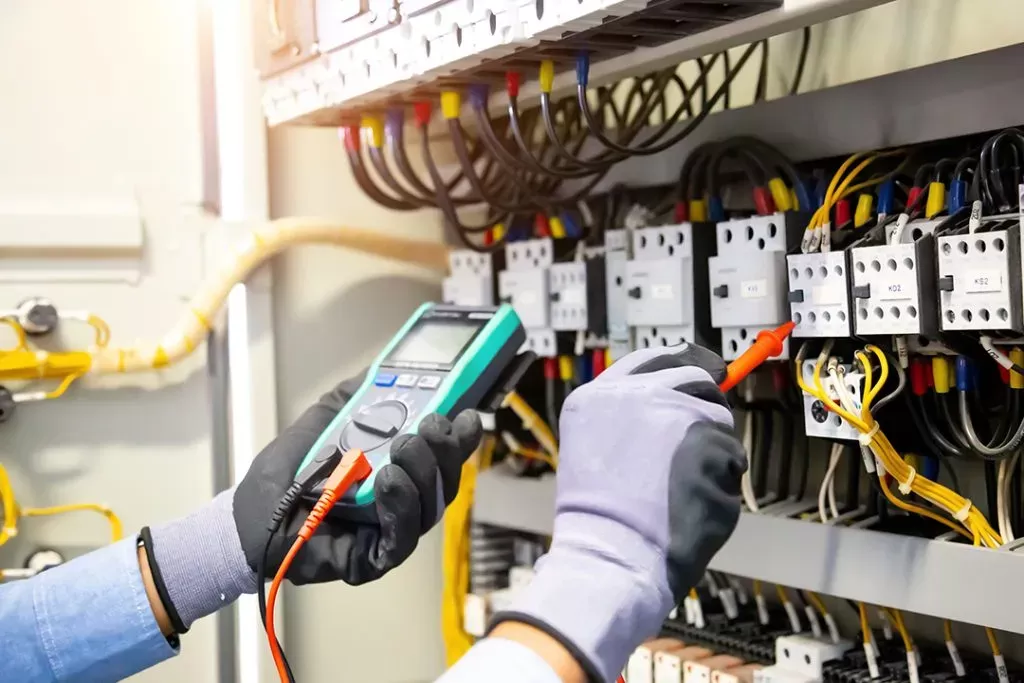
Use a multimeter to measure the battery voltage:
During daytime charging, the voltage should rise slowly.
When the battery is fully charged, the voltage should reach the nominal value specified in the lamp’s manual (e.g., 12V or 24V).
If you have a controller, check that the charging indicator light is working properly.
Cover the solar panel or light sensor with your hand and the lamp will light up immediately
Recommended solar street light models that can be installed by one person:
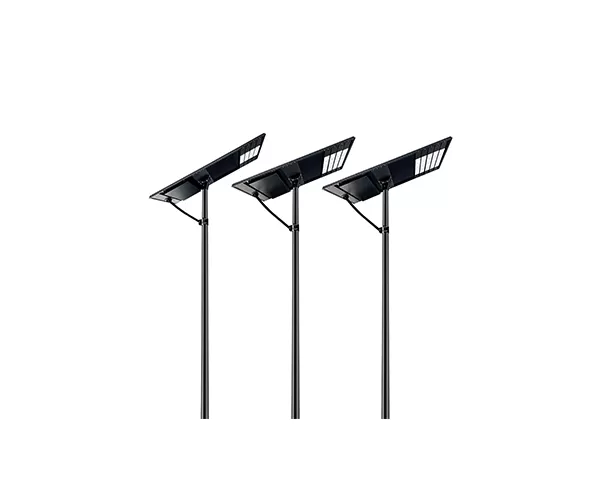
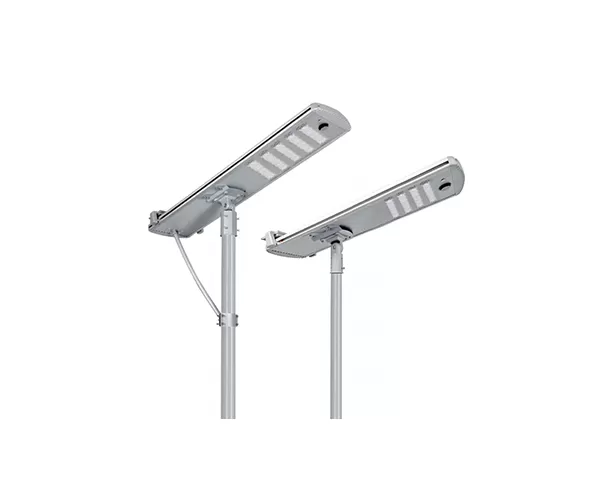
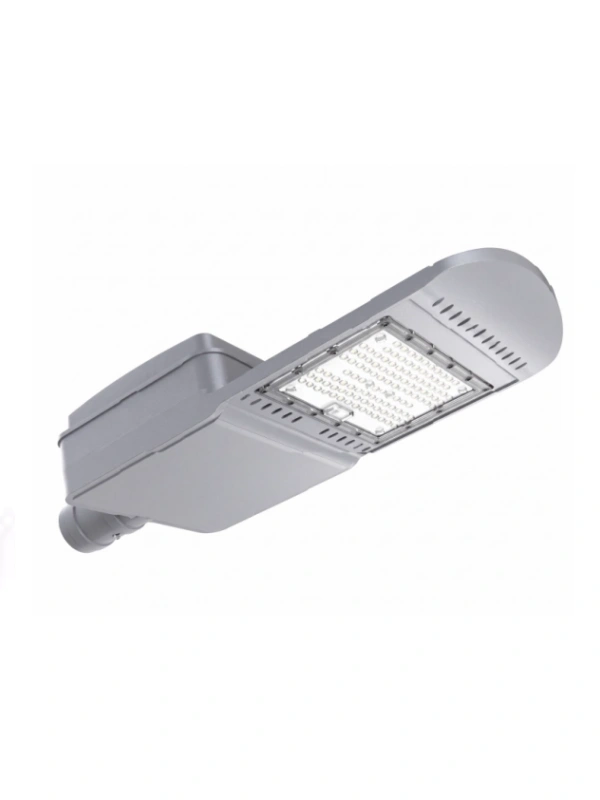
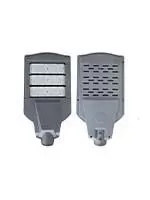
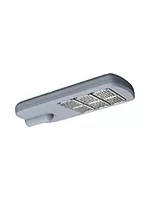
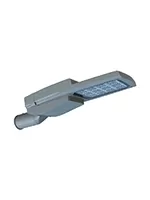
For buyers evaluating all in one solar street light wholesale solutions, compact integrated models with lower pole heights are generally easier to transport, assemble, and install. However, the total fixture weight, pole height, foundation design, and manufacturer’s installation requirements should still be checked before deciding whether one-person installation is appropriate.
| Pole Height | Suitable Scenario | LED Power | Battery Capacity | Installation Difficulty | Single-Person Installation |
| 2.5 m | Yard, small garden, community path | 8W–15W | 6Ah–12Ah (Lithium) | ⭐ | ✅ Fully installable by one person |
| 3 m | Rural path, farmhouse yard, factory road | 15W–20W | 10Ah–20Ah (Lithium) | ⭐⭐ | ✅ Can be installed by one person, slightly laborious |
| 3.5 m | Community road, parking lot, park path | 20W–25W | 15Ah–25Ah | ⭐⭐ | ✅ Can be installed by one person, support tools recommended |
Additional Tips for One-Person Installation:
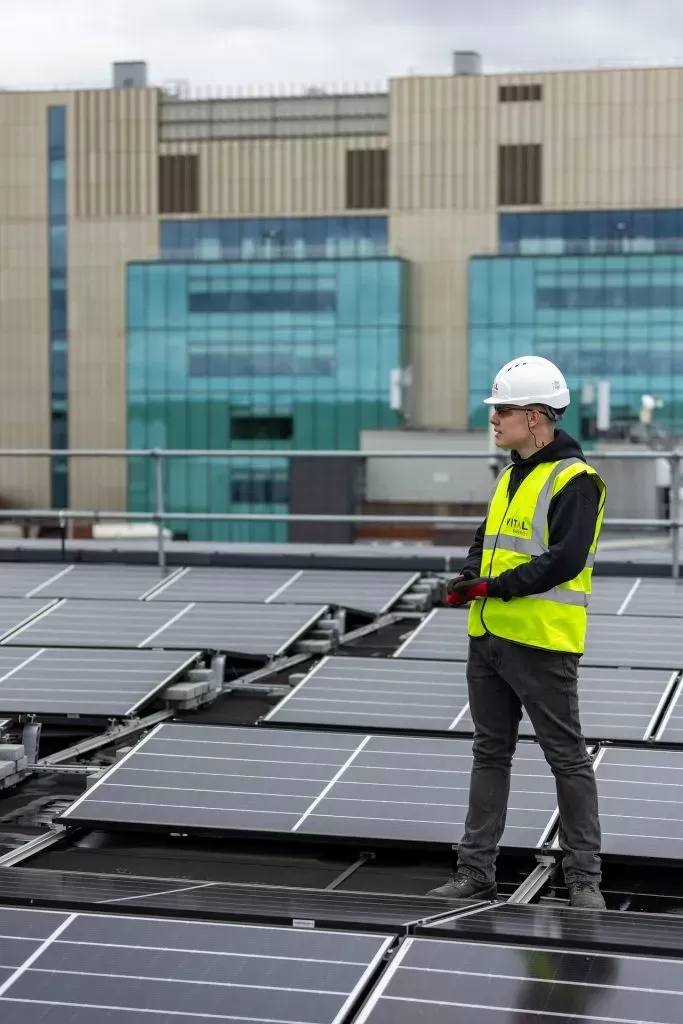
Safety first:
Wear gloves and a helmet, and avoid installation in strong winds or rain.
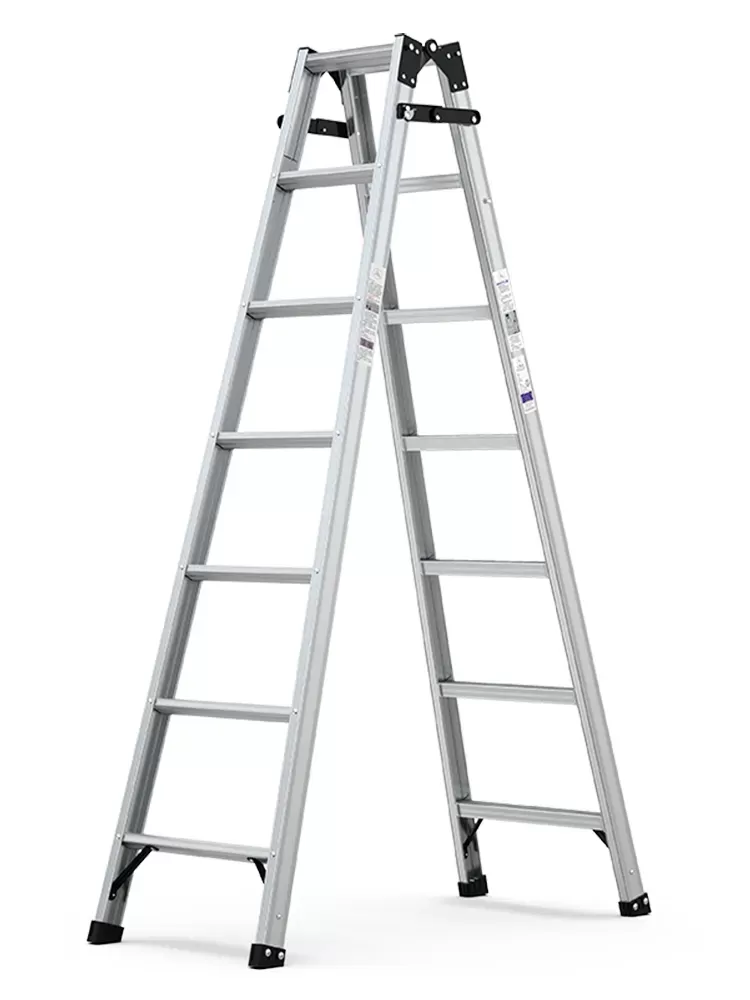
Tools that help:
A portable tripod stand, rope pulley, or manual winch can greatly reduce effort.
Pre-assemble in shade:
Assemble and wire components under shade before moving them to the site to prevent overheating during setup.
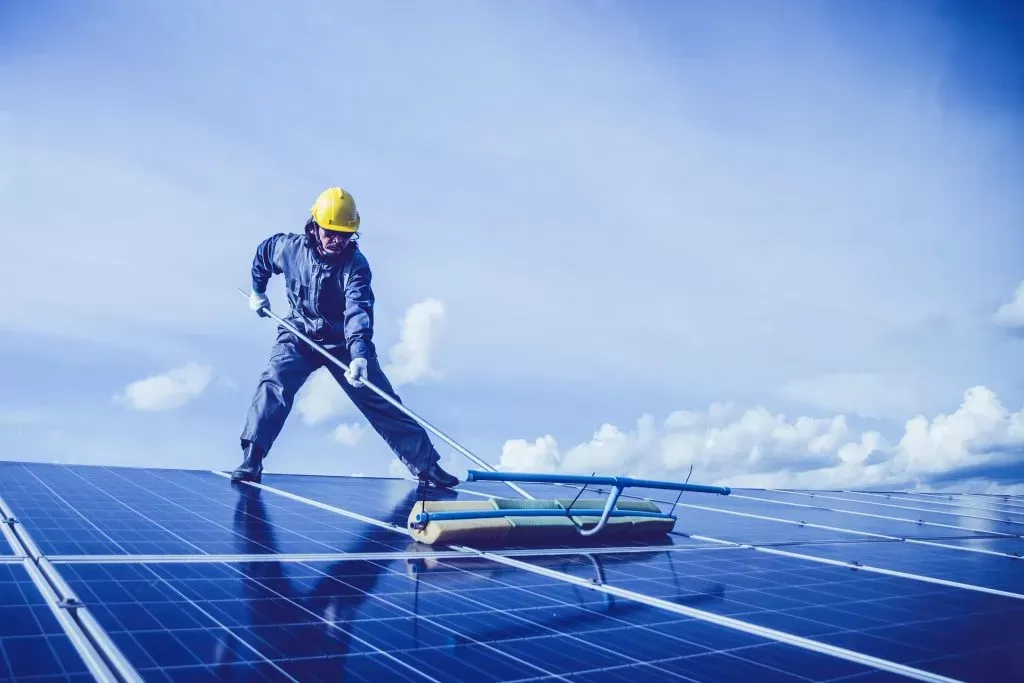
Maintenance:
Wipe the solar panel every 2–3 months to remove dust or leaves. Check bolts and wiring annually.
With suitable tools and preparation, one person may be able to install certain small solar lights with pole heights below approximately 3.5 meters, subject to the product weight and manufacturer’s instructions. For a taller split solar street light system or any 6–9 meter road-lighting pole, use trained installers and appropriate professional lifting equipment rather than attempting single-person installation.

 English
 français
 Español
 العربية
 Pilipino
 ไทย
ไทย tiếng việt
 Malay
Malay русский